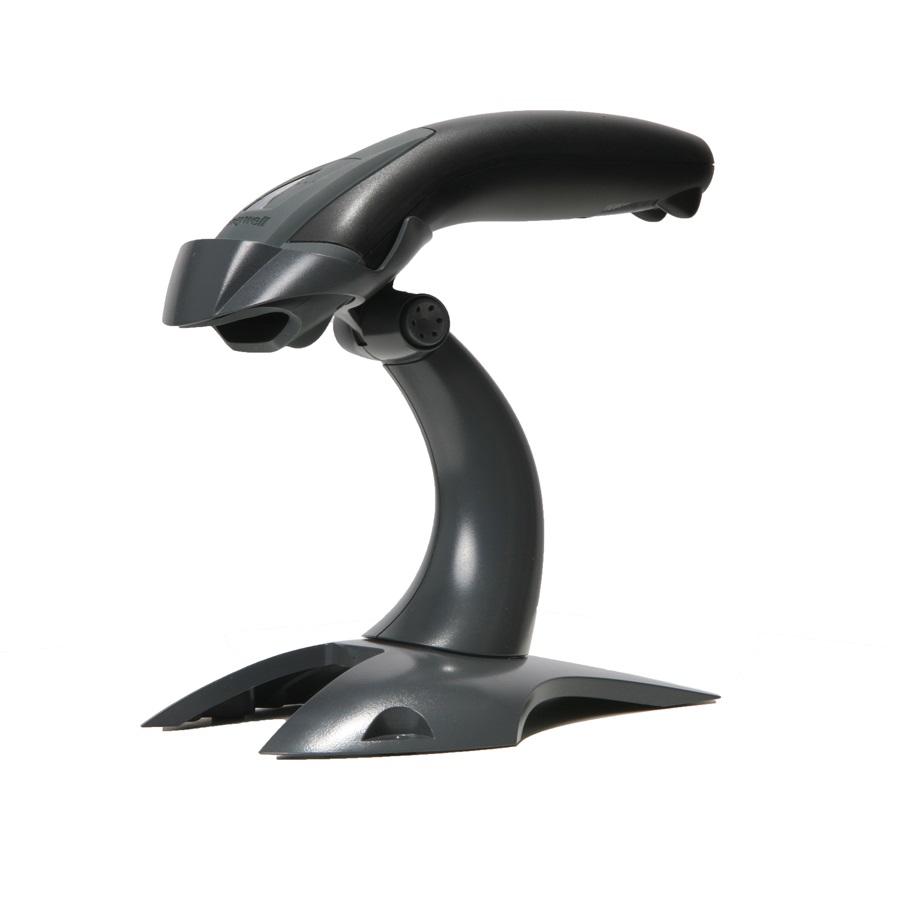
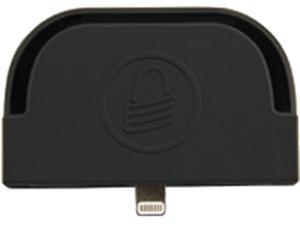
To connect your MagTek Excella to Ranger through Ethernet, you'll need to set up the MagTek Excella for ethernet connection. Please ensure that the MagTek Excella is connected by ethernet to the same network as the PC. In the document linked below, reference section 3, 'Ethernet Installation', to configure your MagTek Excella scanner for your network. The subnet mask of the scanner should match that of the network your PC is on, and you may assign the scanner a valid IP Address. Once you've verified you can connect to Excella's built-in web page (from step 2) and have adjusted the scanner network settings as desired, configure MagTek-ExcellaAPI.ini for ethernet connection. In MagTek-ExcellaAPI.ini: Device DeviceName = EXCELLAETHER We recommend changing driver options programatically: mRanger.SetDriverOption('Device', 'DeviceName', 'EXCELLAETHER'); 4. Navigate to C: Windows micrdev.ini and adjust the connection string of Device 1 to match the IP Address assigned to the scanner in step 2.
Magtek Excella Installation and Troubleshooting Guide 4 2014 Bluepoint Solutions/Magtek Downloads and Installation The necessary drivers can be found at: bluepoint.com Departments R&D 3rd Party Scanner Drivers Magtek Open windows explorer and copy this into the directory bar at the top. The Excella STX leads the industry in reliability and ease-of-use. Single pass front and back Featuring a front and back printer for franking and endorsing, Excella STX scans front and back images in.
In micrdev.ini: DEVICE1 Device=Excella Name=EXCELLAETHER InternetOpenType=1 Transport=ETHERNET ConnectionString=192.168.10.100 //adjust this option to match the IP Address established in step 2 5. Connect to RangerFlex. If you are still having connection issues, please grab Ranger logs and INI files, and send them to support@sbullet.com with a detailed explanation of your issue. See also:.

EXCELLA STX INSTALLATION GUIDE (MagTek USB Drivers) 1. SOFTWARE INSTALLATION. Remove earlier versions of the demo using the PC’s Add or Remove Programs. Insert Excella STX’s API/Demo CD in drive; the CD will run automatically. Follow the wizard instructions to install the software and use the default directories. When prompted by the Wizard, select option (a) and (b) below to install the Excella STX Demo and API; to skip the Excella STX Demo and only install the API and MagTek USB Drivers, select option (b) only: (a) Excella STX Demo and API (Demo requires drivers for USB Devices) (b) Excella STX USB Driver and API. When done, click on Finish to complete the installation process.
NOTE: The default destination folder is C: Program Files MagTek Excella-STX 2. CONNECT CABLES.
Connect the USB interface cable to Excella STX (refer to Figure 1 below). Connect the round connector from the power supply to Excella STX. Connect the power cord to the socket on the power supply block. Connect the three-prong power cord to AC wall outlet.
Magtek Micrimage Driver
Wait until only the middle LED is illuminated with a steady green. Connect the USB interface cable to PC. NOTE: When the device is plugged in and detected by the PC, the USB drivers will be automatically installed. Power Cord Figure 1. Cables & Connectors 3. INSTALL INK CARTRIDGE(S).

Magtek Excella Stx Drivers For Mac Download
Remove the outer cover by pressing the release buttons on each side and lifting the cover. Remove the center cover by pressing the rear/front release buttons and lifting the cover. Ensure the Back printer latch is down and locate the alignment pegs on the Printer/Cartridge and the guide holes in the Back Printer Base (see Figure 2 below).
Slide the alignment pegs into the guide holes as indicated in the figure below. Raise the latch so that it touches the Printer/Cartridge. Press the latch into the lock position, and move the Cartridge slightly to ensure it is locked. If needed, perform the same steps above on the Front Printer/Cartridge located inside of the exit path.